We’ve just installed a terrific spa and swimming pool in our new home, and it includes a heat pump that can either warm or cool the spa or the pool (or both).
Our residential HVAC, our pool filtration pump, and our pool heater/chiller all in the same corner, just outside the back of our two-car garage. Since they are still next to our main patio (and obviously a short distance from the pool as well), this produces two problems:
- It’s an eyesore
- It’s uncomfortably loud, especially when all the equipment is running at the same time
I decided I wanted to build my own fence around the equipment with an emphasis on acoustics. It’s still a compromise: aesthetics and cost are also considerations. The ultimate acoustic fence would be, almost literally, a sandwich — an outer and inner layer of pressure-treated lumber, separated by several inches and filled with sand. That was a hard “no” for me. Instead, here’s the choices I made.
Thickness
A typical economy wooden fence uses 1/2” pickets. I wanted something with a little more mass than that, so I decided to use 5/4” planks – the kind that are meant for decking. That gives me 250% of the mass of a typical residential picket-style fence.

Gapping
Likewise, a typical economy fence leaves gaps between the boards. There are good reasons for this: relief from expansion and contraction, wind mitigation, and of course less material equates to lower cost of materials.
To maximize reflectivity and direct sound away from the lived-in areas of the backyard, I butted the boards together and used construction adhesive between them, for three reasons:
- To fill gaps and steer as much sound away as possible
- To bond the boards for (hopefully) less warping
- To reduce buzzing or other artifacts that might be caused by individual boards resonating with the equipment noise
Thermal expansion and contraction is still a concern, or more accurately, thermal contraction is a concern. I assembled the fence in July in Florida, where the days commonly reached one hundred degrees Farenheit. The boards were also freshly treated and still had really high moisture content. They are not likely to expand much beyond its current size. (Personal hydration was top of mind at the time.) We’ll see how the fence fares in the winter months.

Height
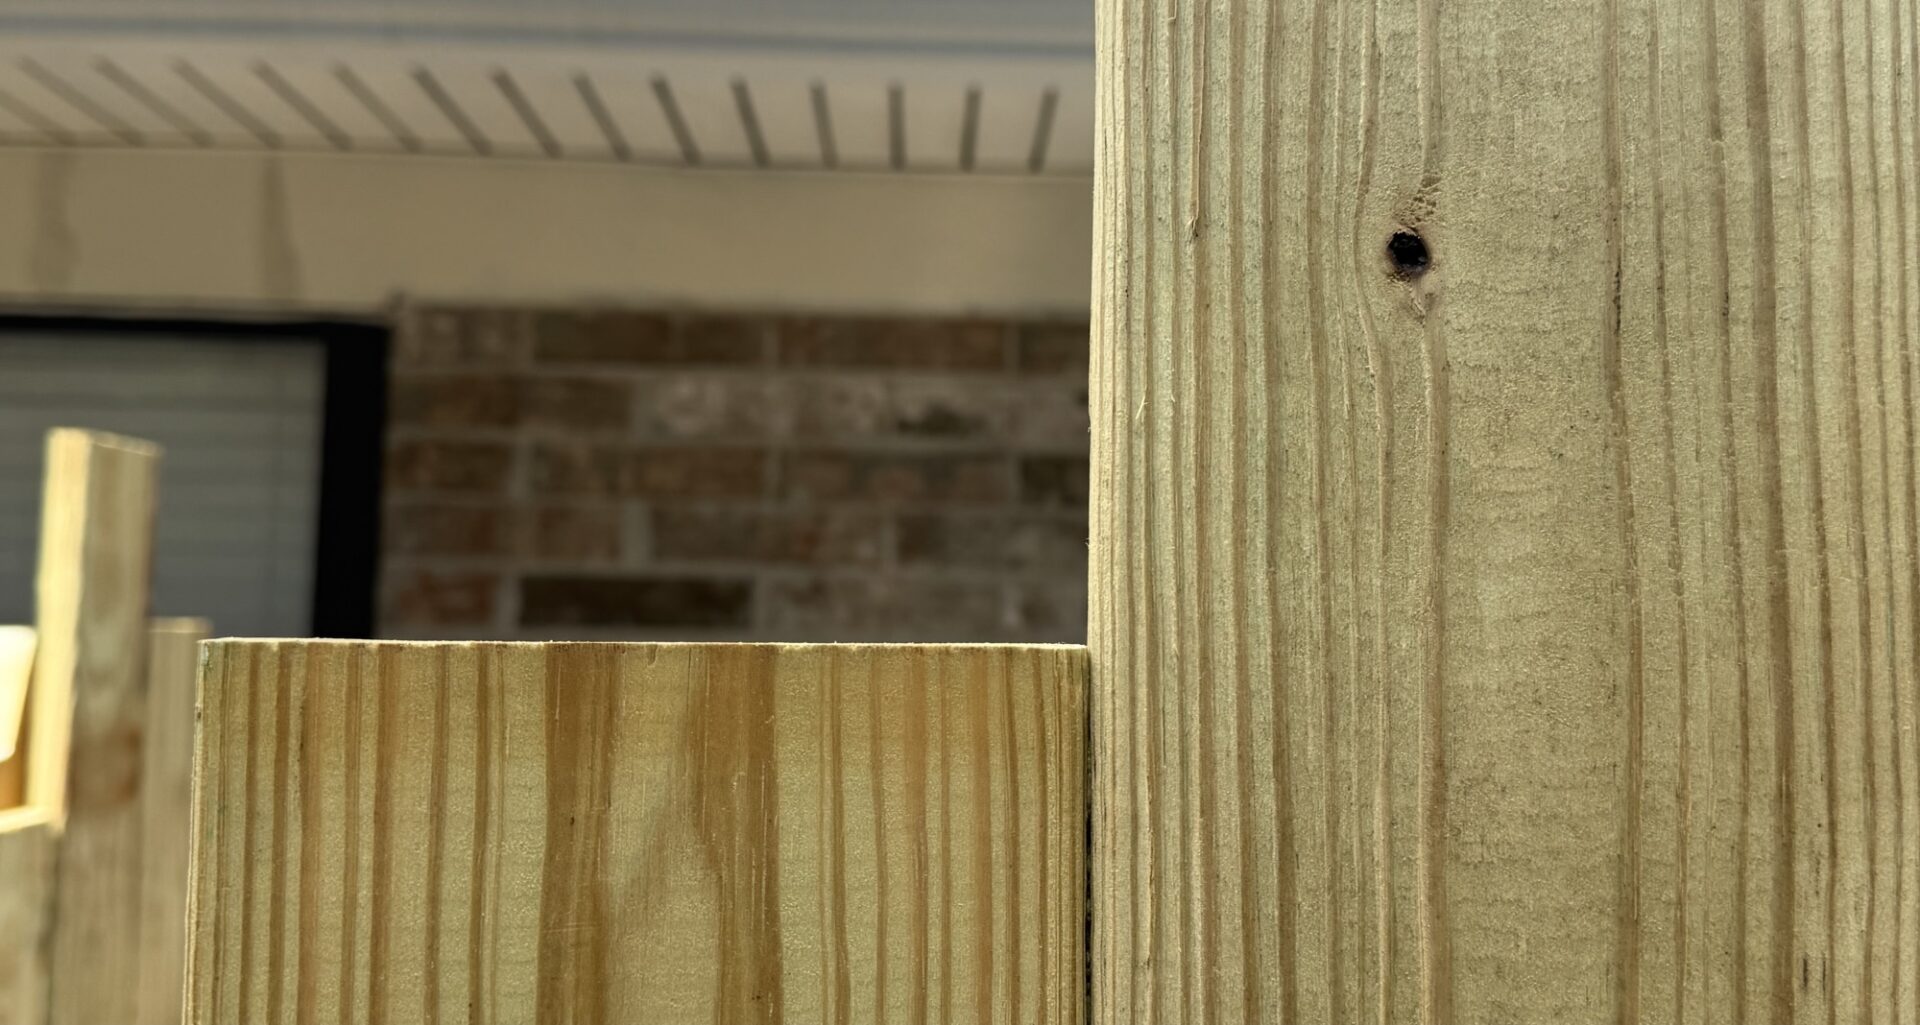
I went with a 6’ mean height, but I randomly staggered the heights of the boards in a range from 5’3” to 6’9”. I went with a simplified bell curve; the vast majority of the pickets are 6’, with fewer boards of each length as the height veers farther from that mean. No two consecutive boards have the same height.

This serves several purposes:
- It distributes any mechanical resonance among several wavelengths, so while there might still be several small resonances at various frequencies, there’s less likelihood of strong resonance at one particular frequency
- It looks cool
I also decided to mount the pickets about 1/2” above ground level, using an old-school scrap picket as a spacer. From an acoustics point of view, this isn’t ideal; some sound can escape through the gap under the pickets. However, I dismissed this one negative in favor of several good positives:
- Improved drainage
- Reduced likelihood of wood rot (from contact with wet soil)
- Reduce mechanical coupling of vibrations from the equipment through the ground and into the fence
I fully expect that we’ll plant some low ground cover or other landscaping that should help to diffuse any sound that escapes under the fence.
Screwholes and Construction
The posts are 8’ pressure-treated pine 4x4s, and I dug postholes that are just over 3’ deep. Posthole locations were chosen to avoid the pool plumbing and electrical lines, and to ensure at least one foot of clearance from any equupment. Just to be as safe as possible, I dug the postholes by hand with a shovel. I had a recent utility survey of the underground lines on the property, and I also had photography of the pool plumbing and wiring while construction was underway, so I was pretty confident in my post placement. Still, if anything wasn’t exactly where I expected it to be, a large posthole digger might have gone right through a pipe or conduit before I knew anything was wrong.
There’s a lot of debate about whether or not to set pressure-treated fence posts in concrete. The local pros who did the rest of our backyard fencing did a superior job (that’s an inside joke, but they really did well), and they used concrete pours. On the other hand, I found an article in the Journal of Light Construction that recommended compacted sand and/or aggregate with no concrete. Florida soil is already mostly sand, and we had a lot of leftover gravel from a very long pathway install, so I opted for no concrete. Instead, I chose to dig the holes a little deeper than the post depth, compact the bottom of the hole, add and compact enough gravel to set the post at the correct height, surround the post with a 6” layer of gravel and compact that, and then refill the hole around the post with alternating layers of approximately 6” each of sandy soil and gravel, compacting each layer as it went in, and also checking for plumb with a spirit level after compacting each layer. The posts were surprisingly stiff and sturdy after this process, and I think these deep holes with layers of gravel will further improve drainage around that area of the house, which was a bit of a problem area to begin with. Time will tell.
There’s a 45-degree corner ‘knocked off’ of the fence to allow extra clearance to a nearby pathway, so a few simple 22.5-degree cuts let me place that section of fence. I had to ripsaw four pickets to the same angle. My little Ryobi table saw is on its last legs; it was just barely up to the task, but the results look pretty great.
I wanted to minimize the number of screwholes that are visible from the living area, so most of the vertical pickets are attached to the horizontal 2×4 rails from behind. This meant a lot of clamping, drilling, screwing, and unclamping, as well as a lot of trips from the front of the fence to the back and vice versa. I used two Ryobi cordless drill/drivers: one loaded with a tapered bit to predrill each hole to the correct depth, and the other with a starpoint bit to drive the decking screws. I set the clutch on the latter so that screws would not ‘overdrive’ and pierce the front surface of the fence. I also used a Ryobi battery-powered caulk gun to apply the poly construction adhesive between pickets and along the rails, taking care to always apply adhesive to the shortest of two adjoining pickets. The project was completed without a single recharge of any batteries. It took six tubes of PCA to secure twenty-two linear feet of fence pickets (approximately 132 linear feet of edge-to-edge joints, plus the pickets to the rails). In the end I think it was worth all the effort.
(Note: I never do paid endorsements; I’m only name-dropping Ryobi because I sincerely like their One+ tools.)
I did use screws from the outside in two places. First, wherever there was a fence post, it seemed silly to screw through 3-1/2” of post, then thru 1-1/2” of rail, and finally another 1” into the pickets. So, no 6” wood screws from behind; instead, I used 2-1/2” screws from the front, and a little wood filler to cover the heads. Second, at the end of the fence where the HVAC pad is located, I wanted to allow an entire fence panel to be easily removed, so that on the day when (not if) the house’s heat pump dies, it can be replaced without a Sikorsky SkyCrane helicopter.
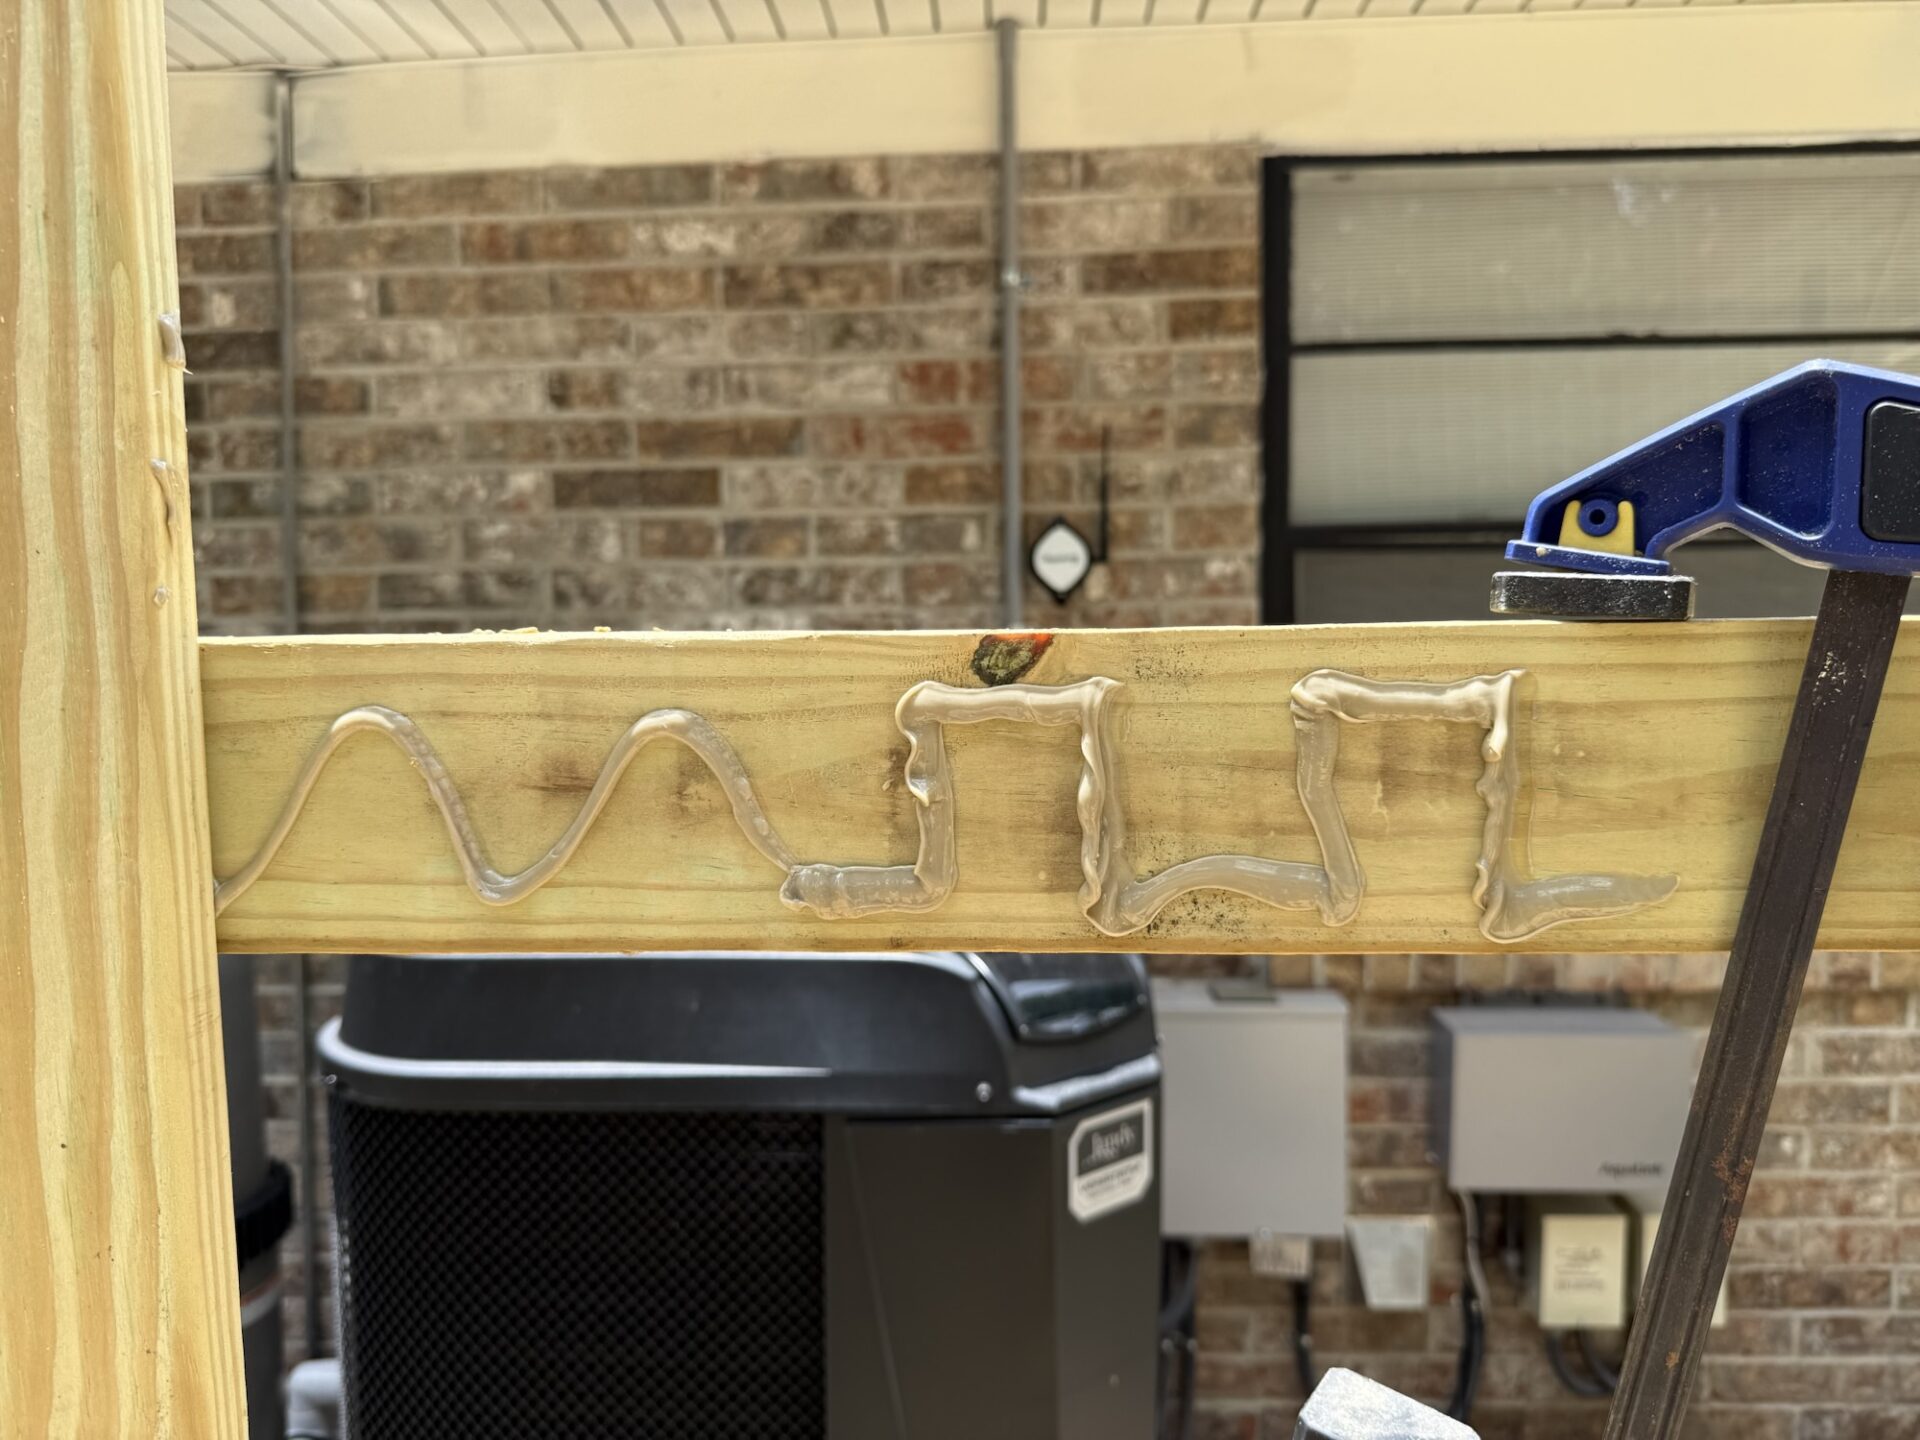
The construction did get a little tedious. Near the end of the project, I started to get a little loopy with the whole acoustics theme; I started drawing waveforms with the polyurethane construction adhesive.
Results
As far as looks go, I gotta say that I really like this fence design. Given that acoustics was an important goal, it seems fitting that it resembles a graphic equalizer, or maybe a digital spectrum analyzer display. That wasn’t my intent; I was aiming for a modern interpretation of a bamboo fence.
I took a semi-scientific approach to measuring the effectiveness of the fence. Once the fence posts and rails were in, I set up a microphone at the nearest corner of the spa (a “medium distance” point of interest) and measured the broad-spectrum decibel levels with all equipment running at full speed. Then, as I completed each major section of the fence, I took another dBa reading (again with all equipment running).
On the whole, the fence seems to have cut the noise level in half – from roughly 55dBa down to 49dBa.
With all equipment off, that point in my yard normally registers about 40dBa ambient. Again, this was not a rigorous test: it was just what I could conjure with reasonable (as in ‘minimal’) effort.
I wish I had taken before/after measurements with an actual spectrum analyzer. A more important result than the total dBa reduction was the reduction of higher frequency noise. Subjectively, I feel it is MUCH easier to converse at the patio table or in the spa now. Yes, you can still hear the equipment when it is running, but with all of the high-end rattles and whistles and whining being reflected away, it’s much less noticeable.
As far as a cure for the eyesore factor, the inside of the fence now makes a great place to stow pool nets, brushes, chemicals, and other such bric-a-brac. So yeah – on the whole, I call this project a win.